

RG FULL ARMOR GUNDAM
When the RG Full Armor Unicorn was announced, I initially dismissed it as something I had no plans on purchasing it since I already had the original. This is until I got my hands on some interesting paint; Mr. Crystal Color. The paint gives a pearl-like color in which the resulting shade depends on the whether the base coat is black or white. This seemed almost too perfect for painting the inner frame of the Unicorn Gundam. Also now that I have an airbrush, it seemed like a perfect chance to 1up my previous build and try preshading it! So how did the new version fare compared to the original? Well, let’s find out!
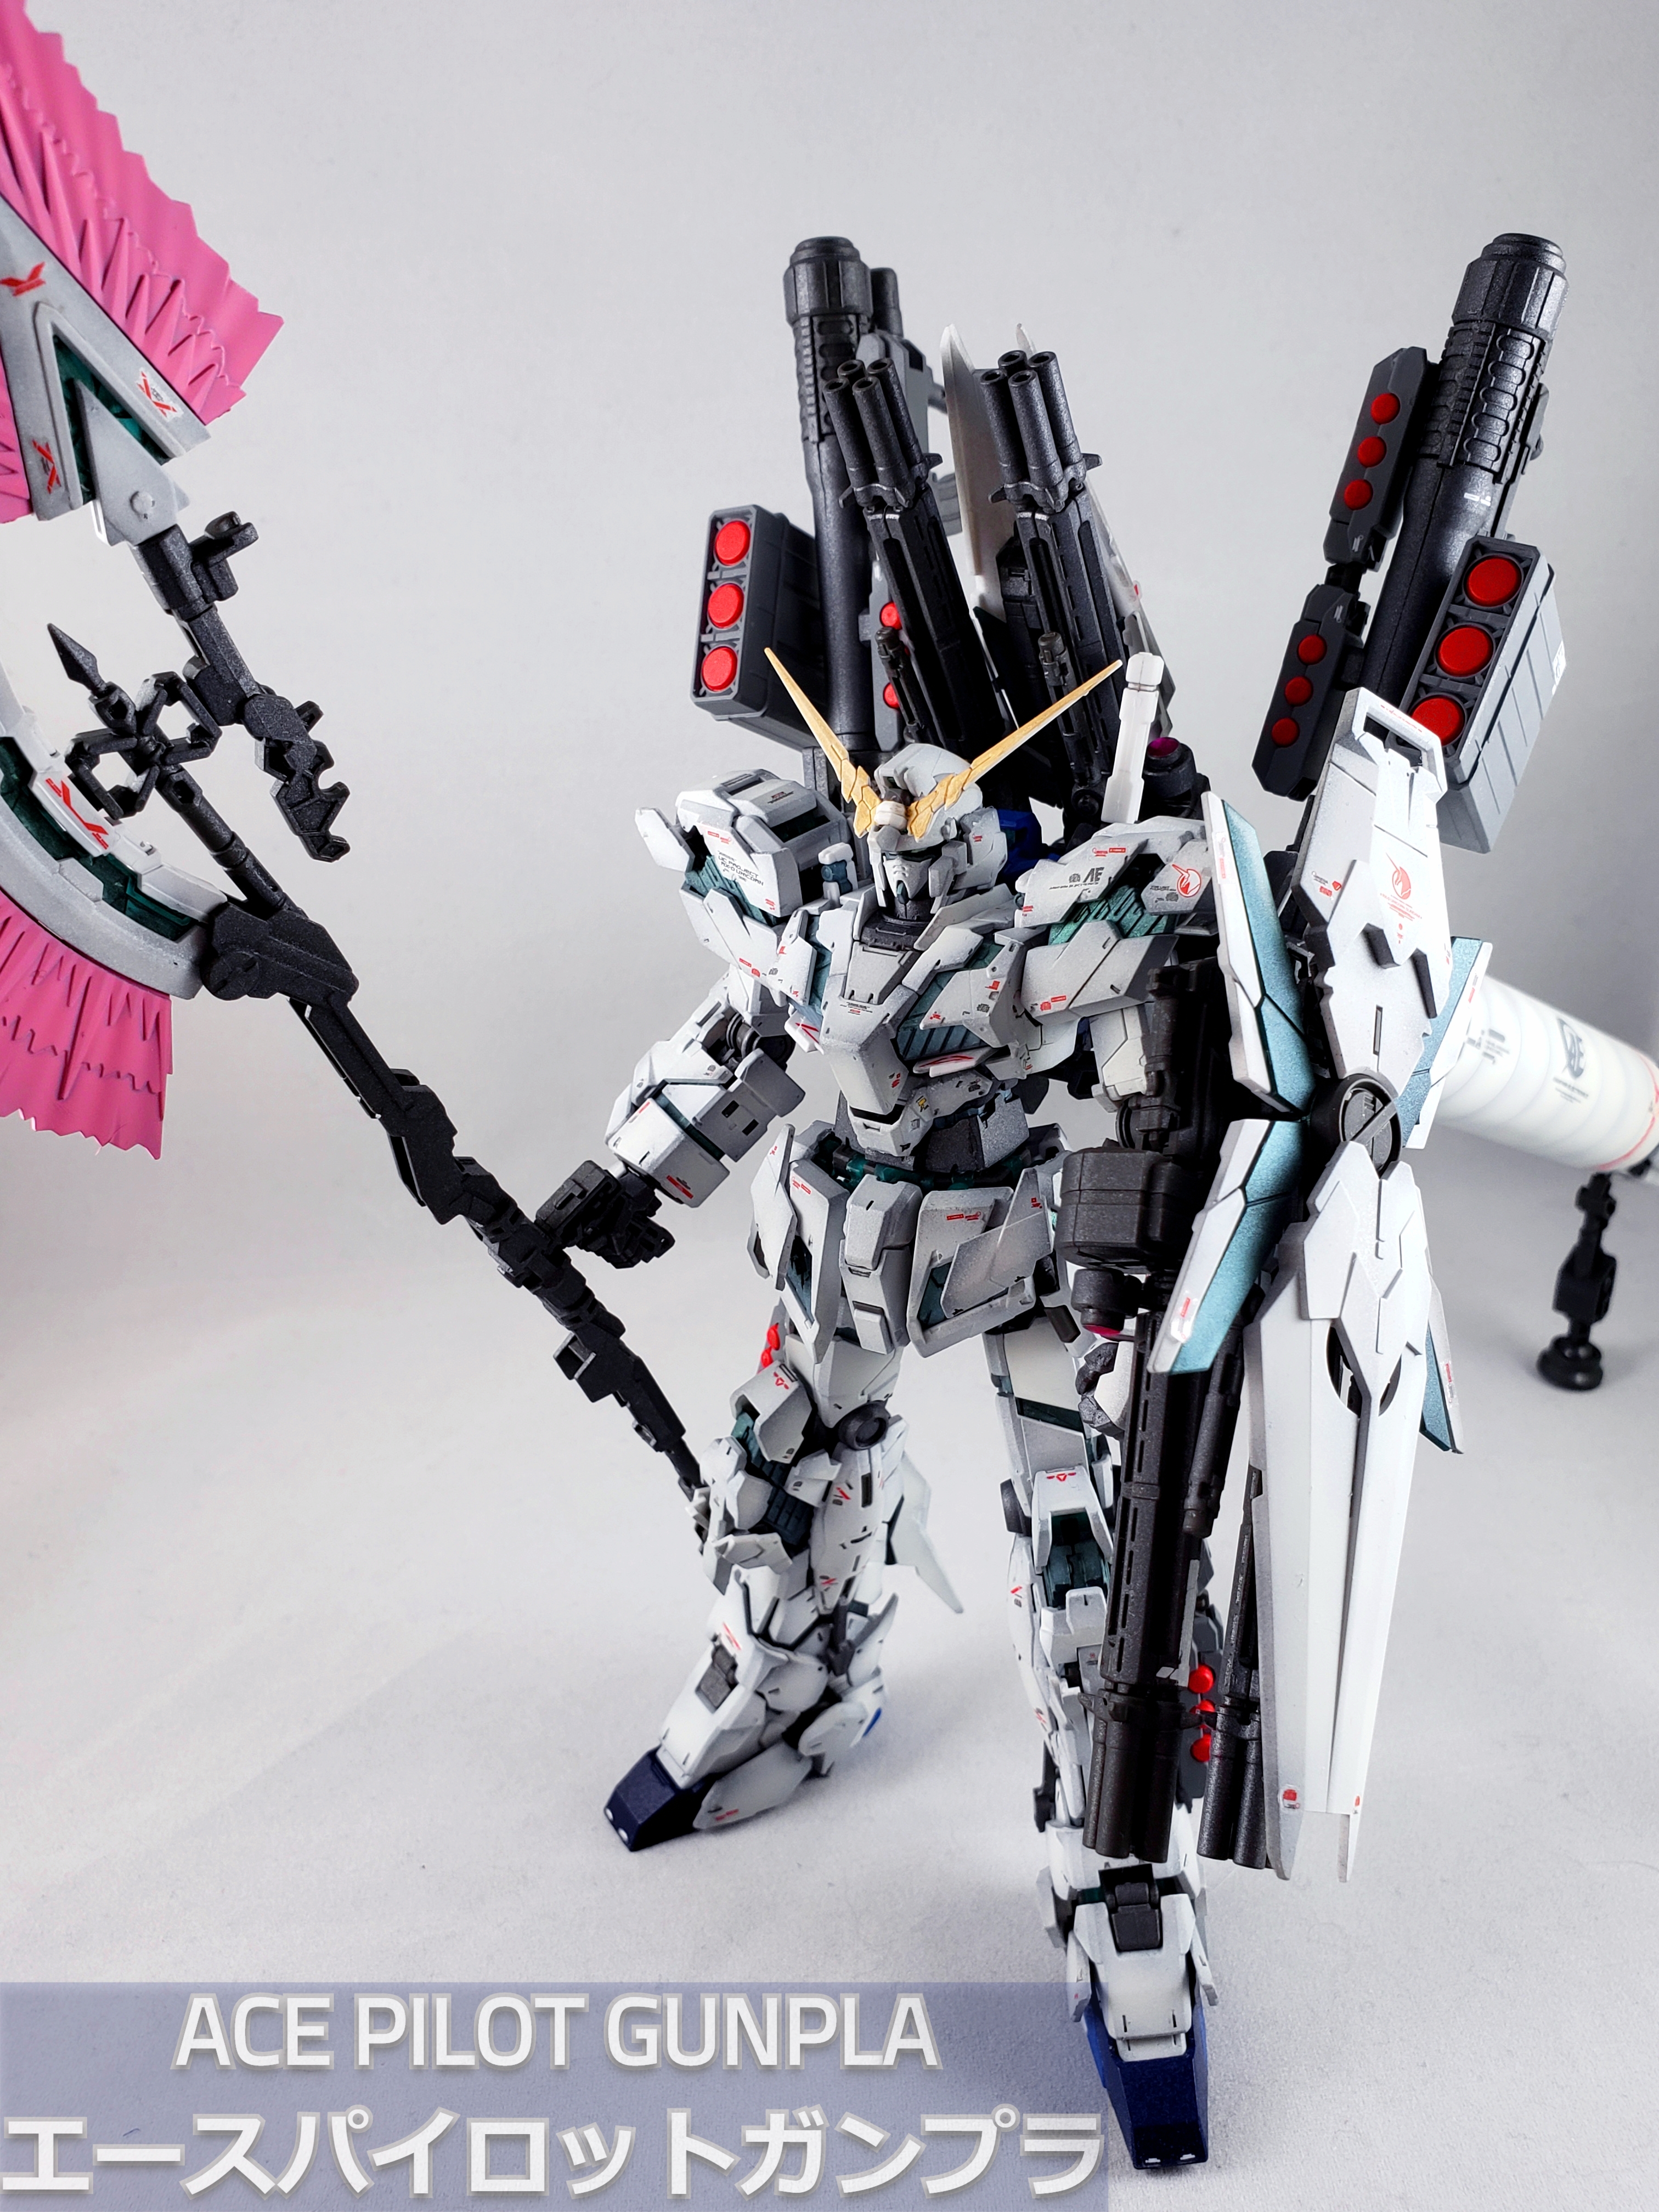
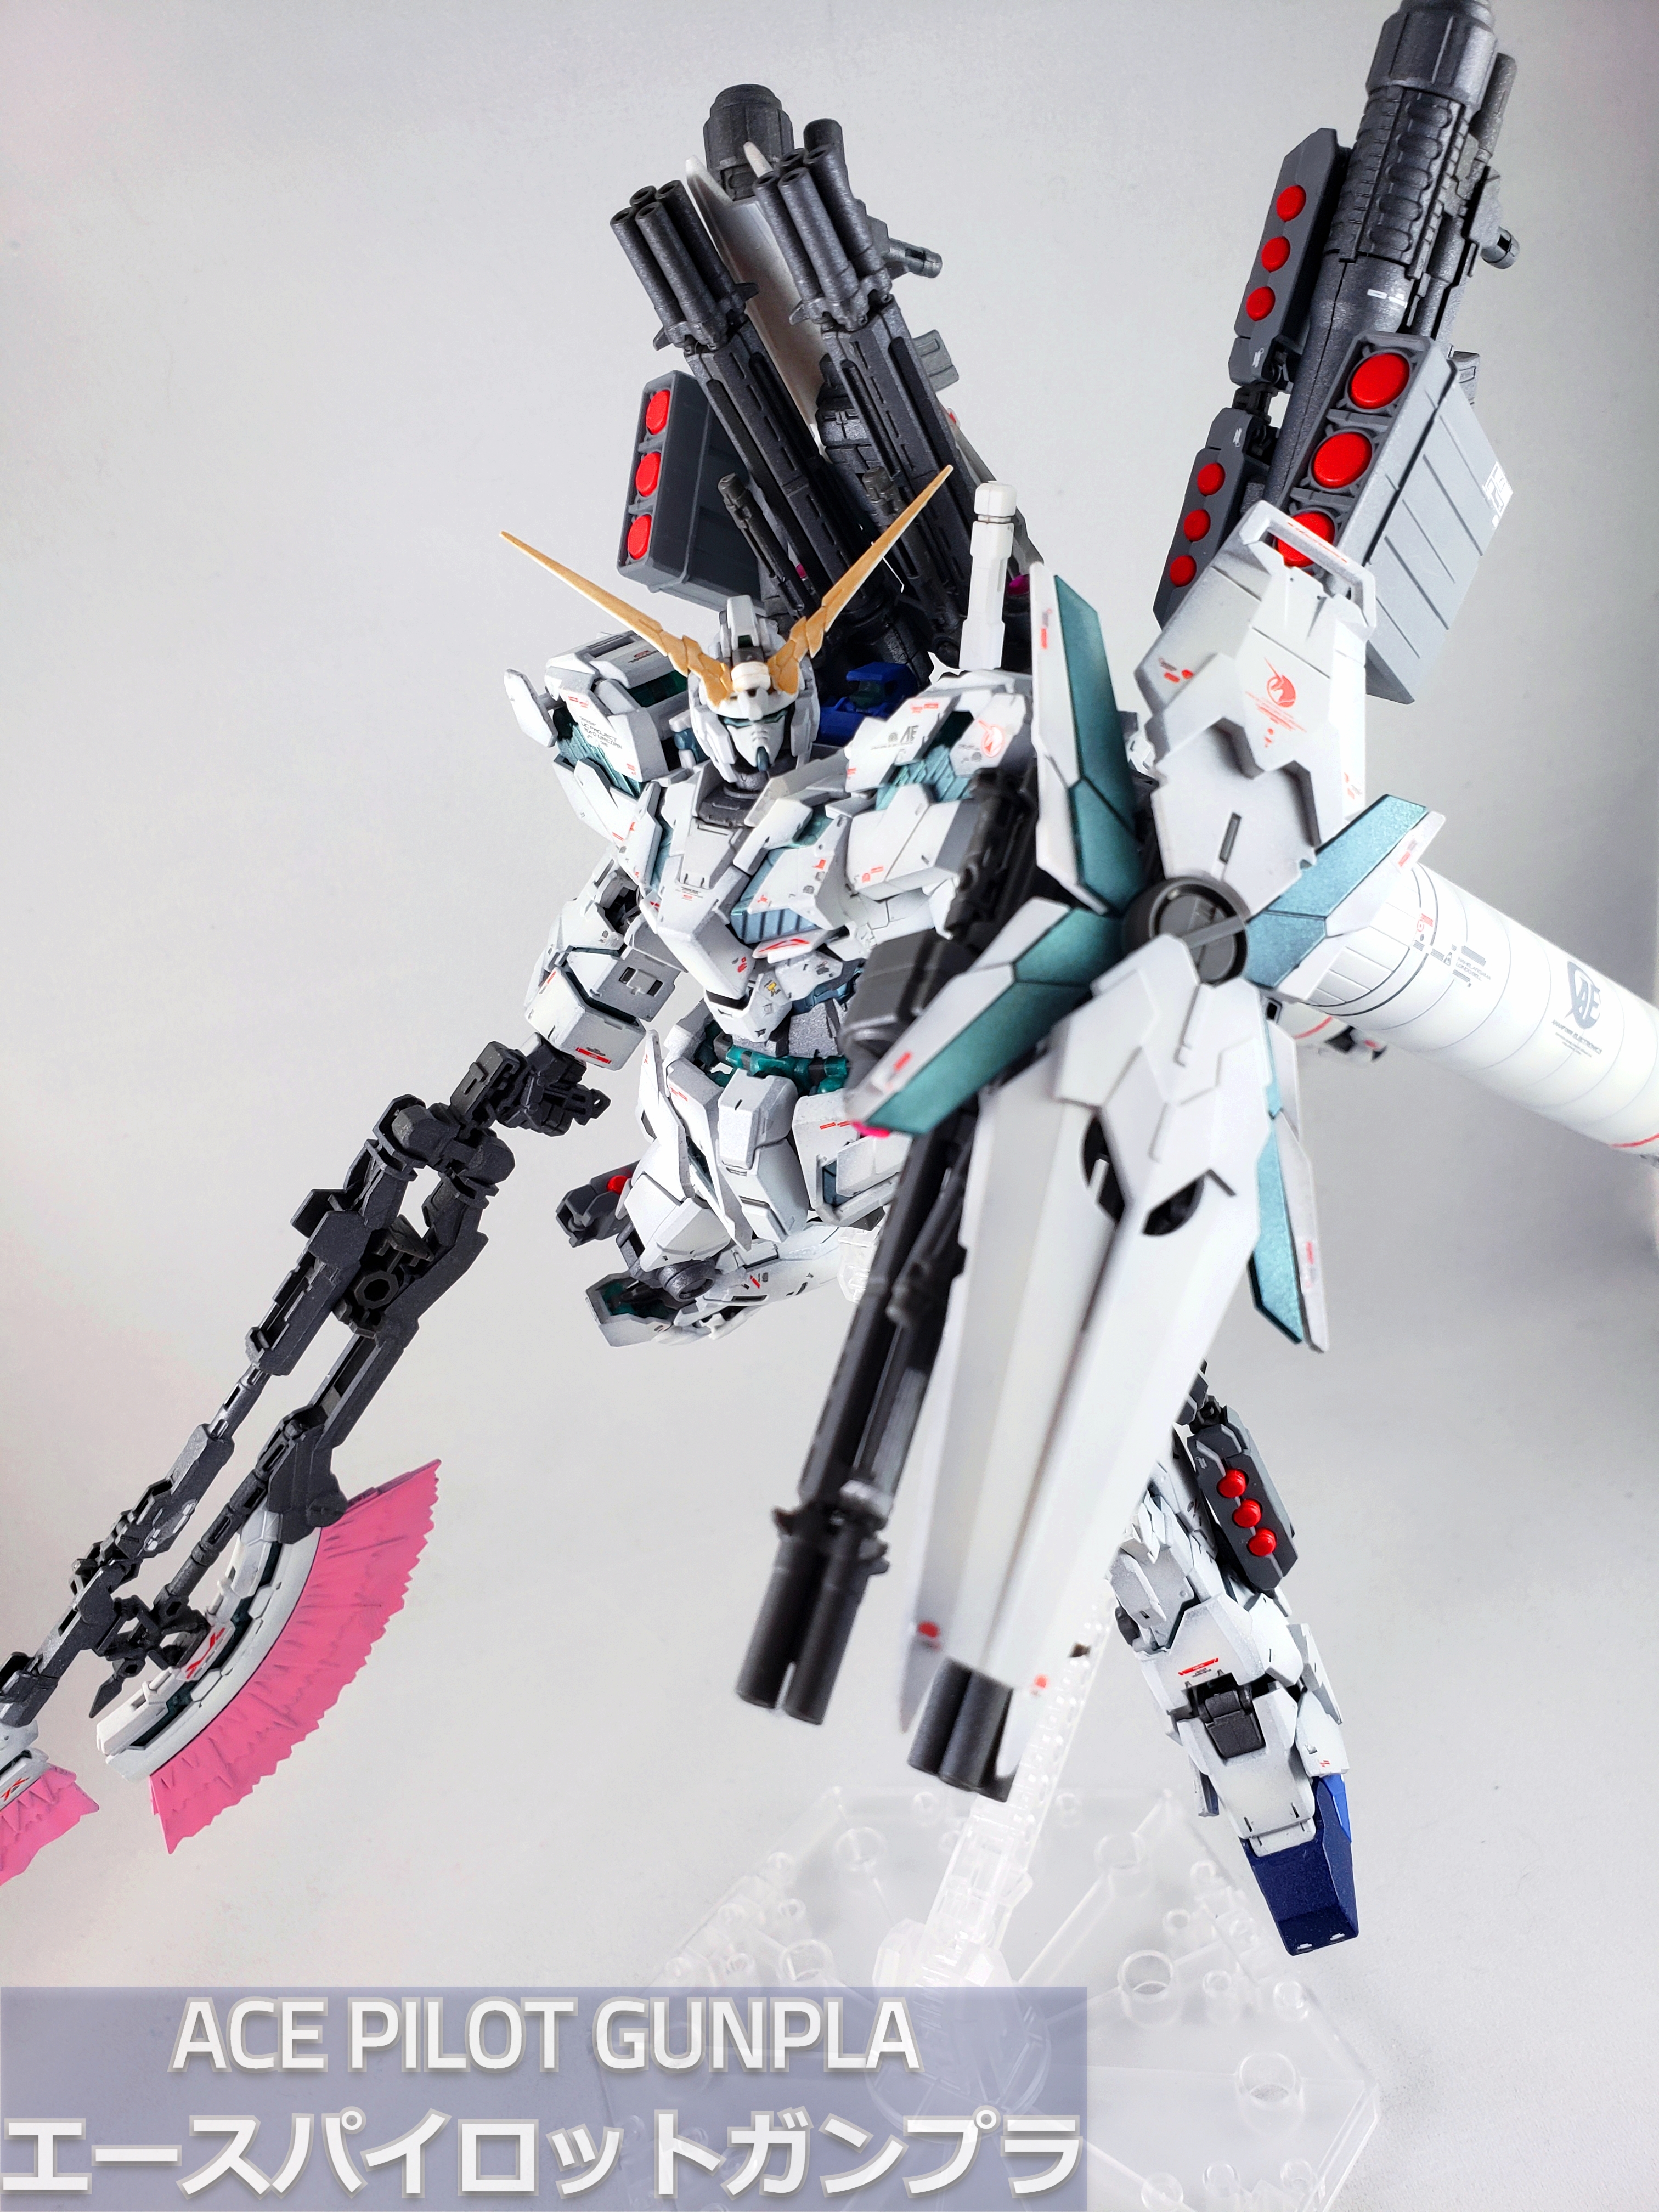
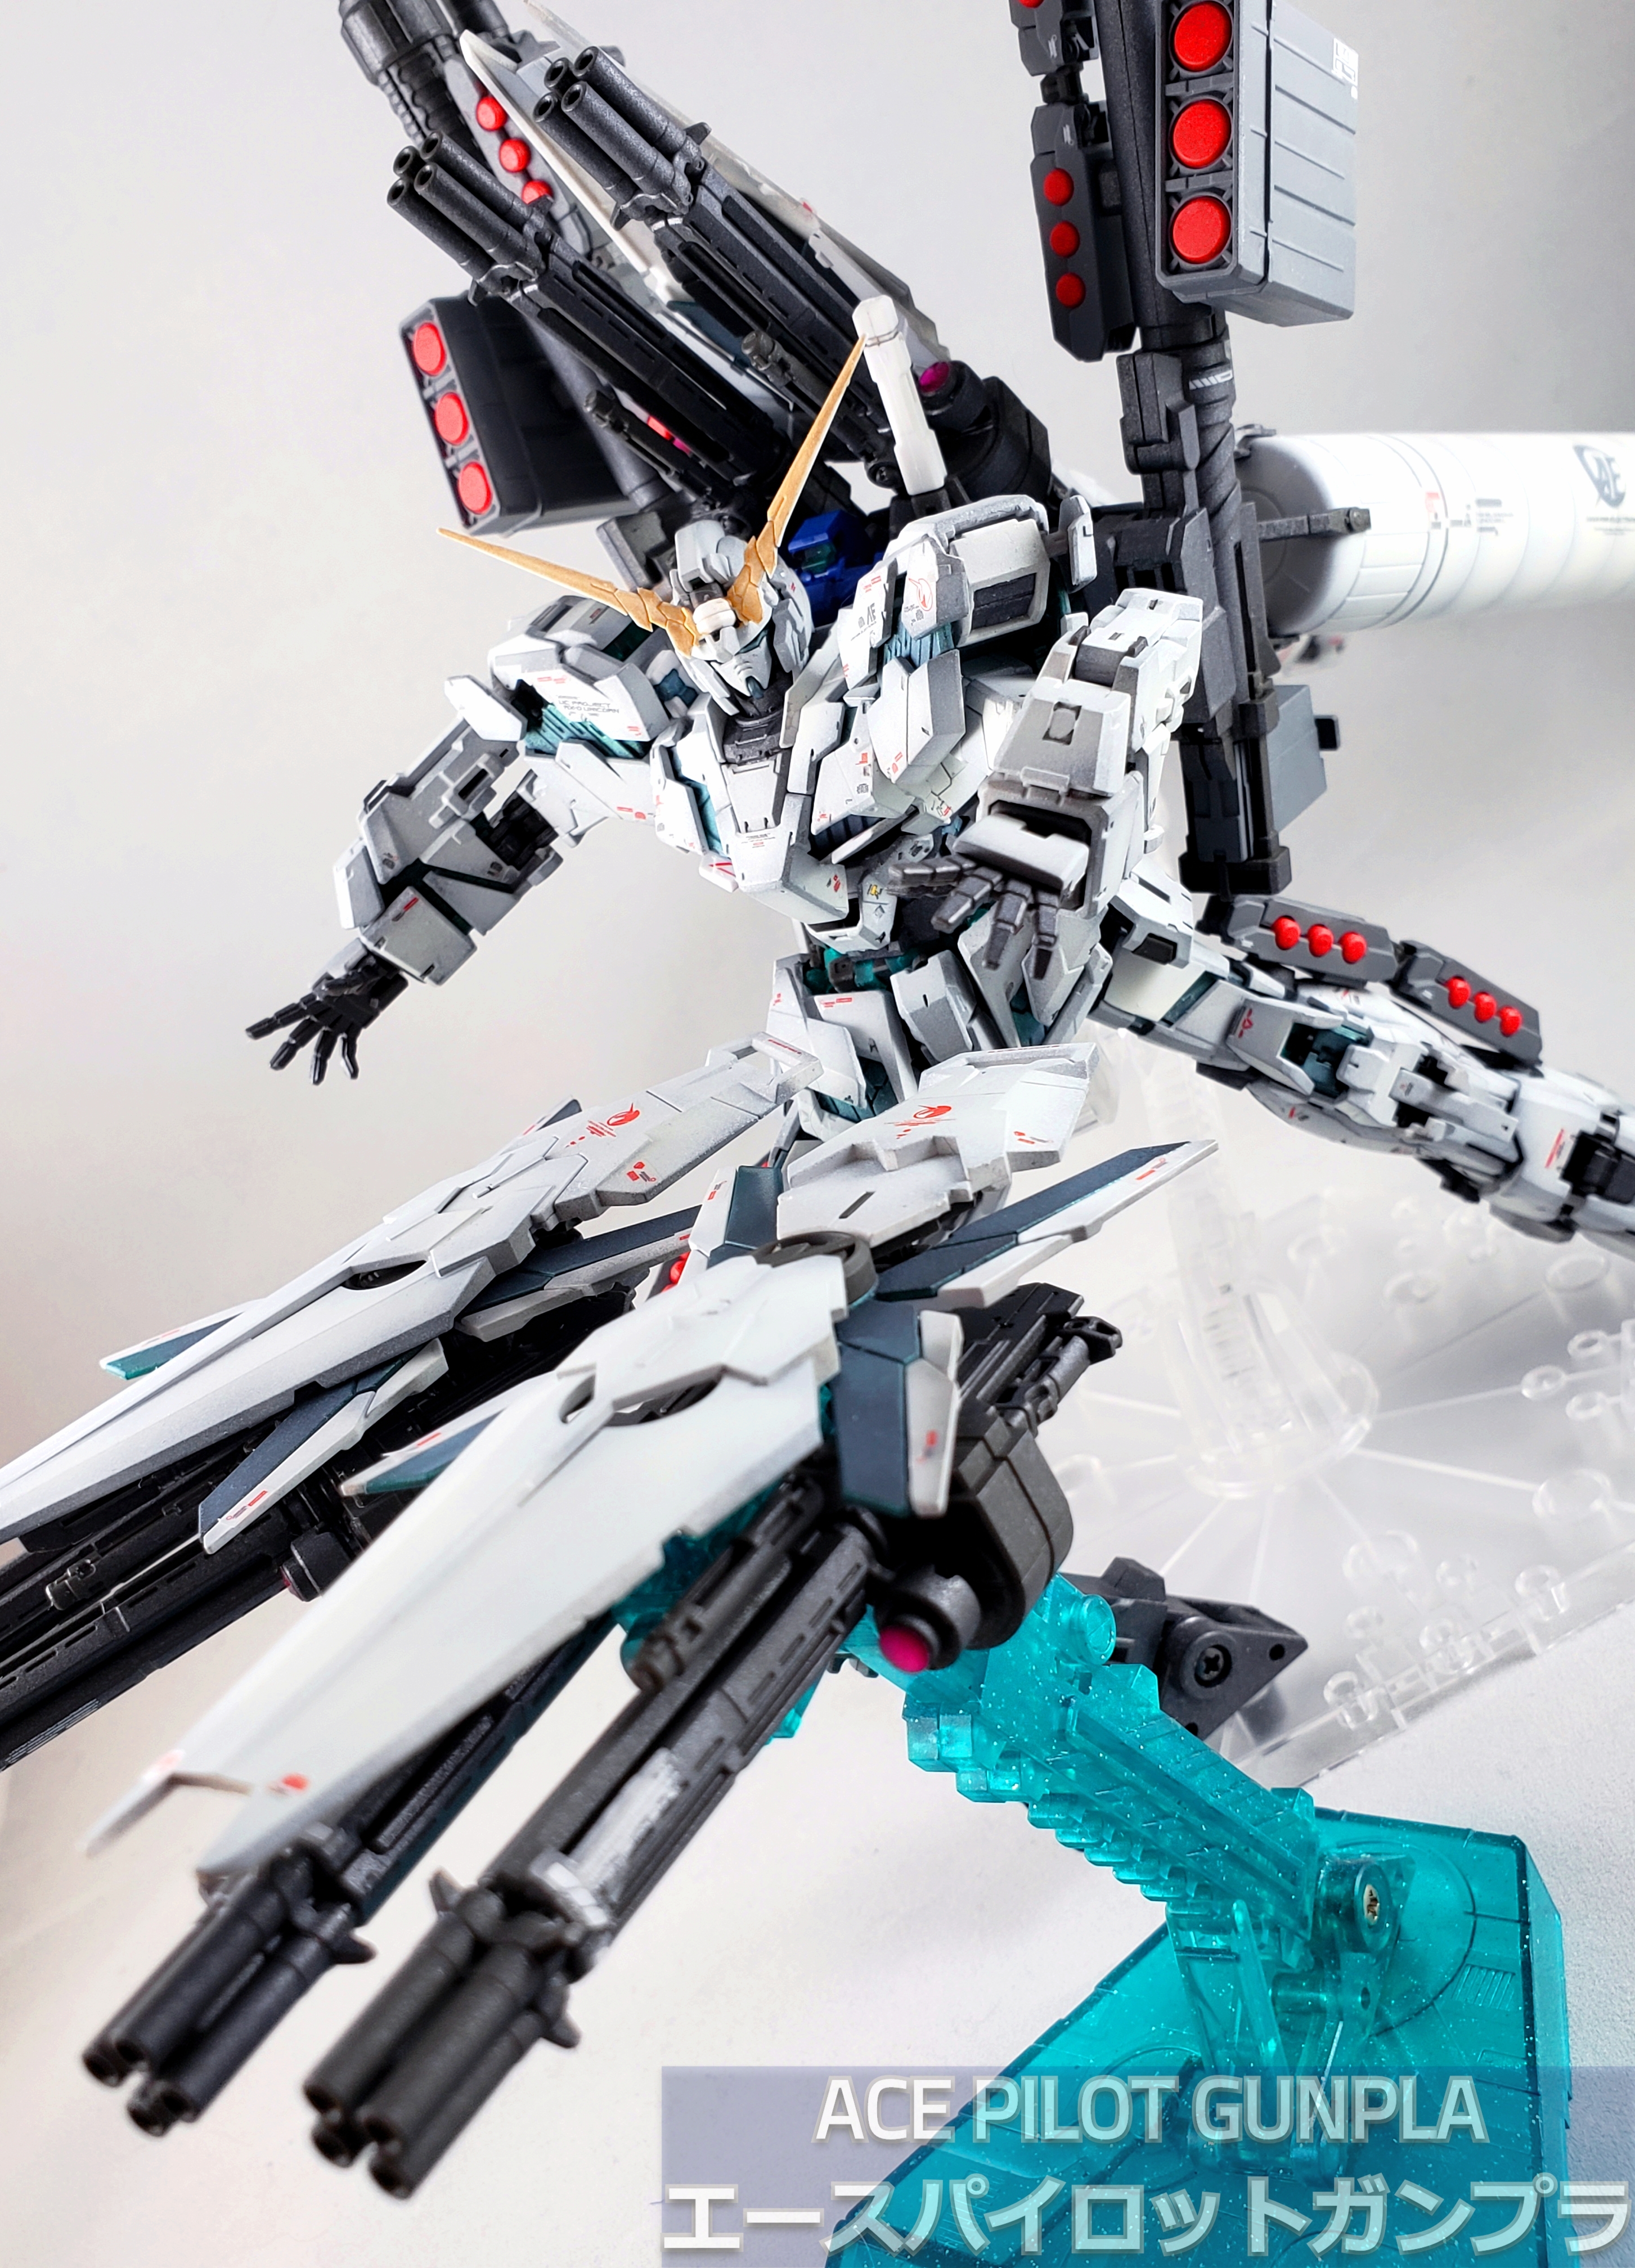
The RG Unicorn was a groundbreaking kit that set a new bar for RG kits and what they could achieve. Like the original, the Full armor still has the same transformable and well articulated unicorn gundam, albeit with a green psycho frame rather than a red one. But what about the new full armor parts? Well, they’re both good and bad. The good being that it gives the Unicorn gundam a beefy look and the extra artillery and boosters are well made. The downside is that all the weaponry makes the gundam too “back heavy”, meaning that even without the boosters, the Unicorn is going to be falling over backwards. The boosters thankfully have articulated stands to hold them up and help the Unicorn gundam stay upright. However, posing this kit can be a nightmare! I found that the gatling gun/shields attached to the arm constantly come into contact with the backpack parts due to their size. Additionally, the boosters will weigh down the kit when using a stand, so I found that lowering the stand closer to the ground will help support the weight. So as expected, the bulk of the added armaments are going to make it difficult to capture the kit in a variety of poses.
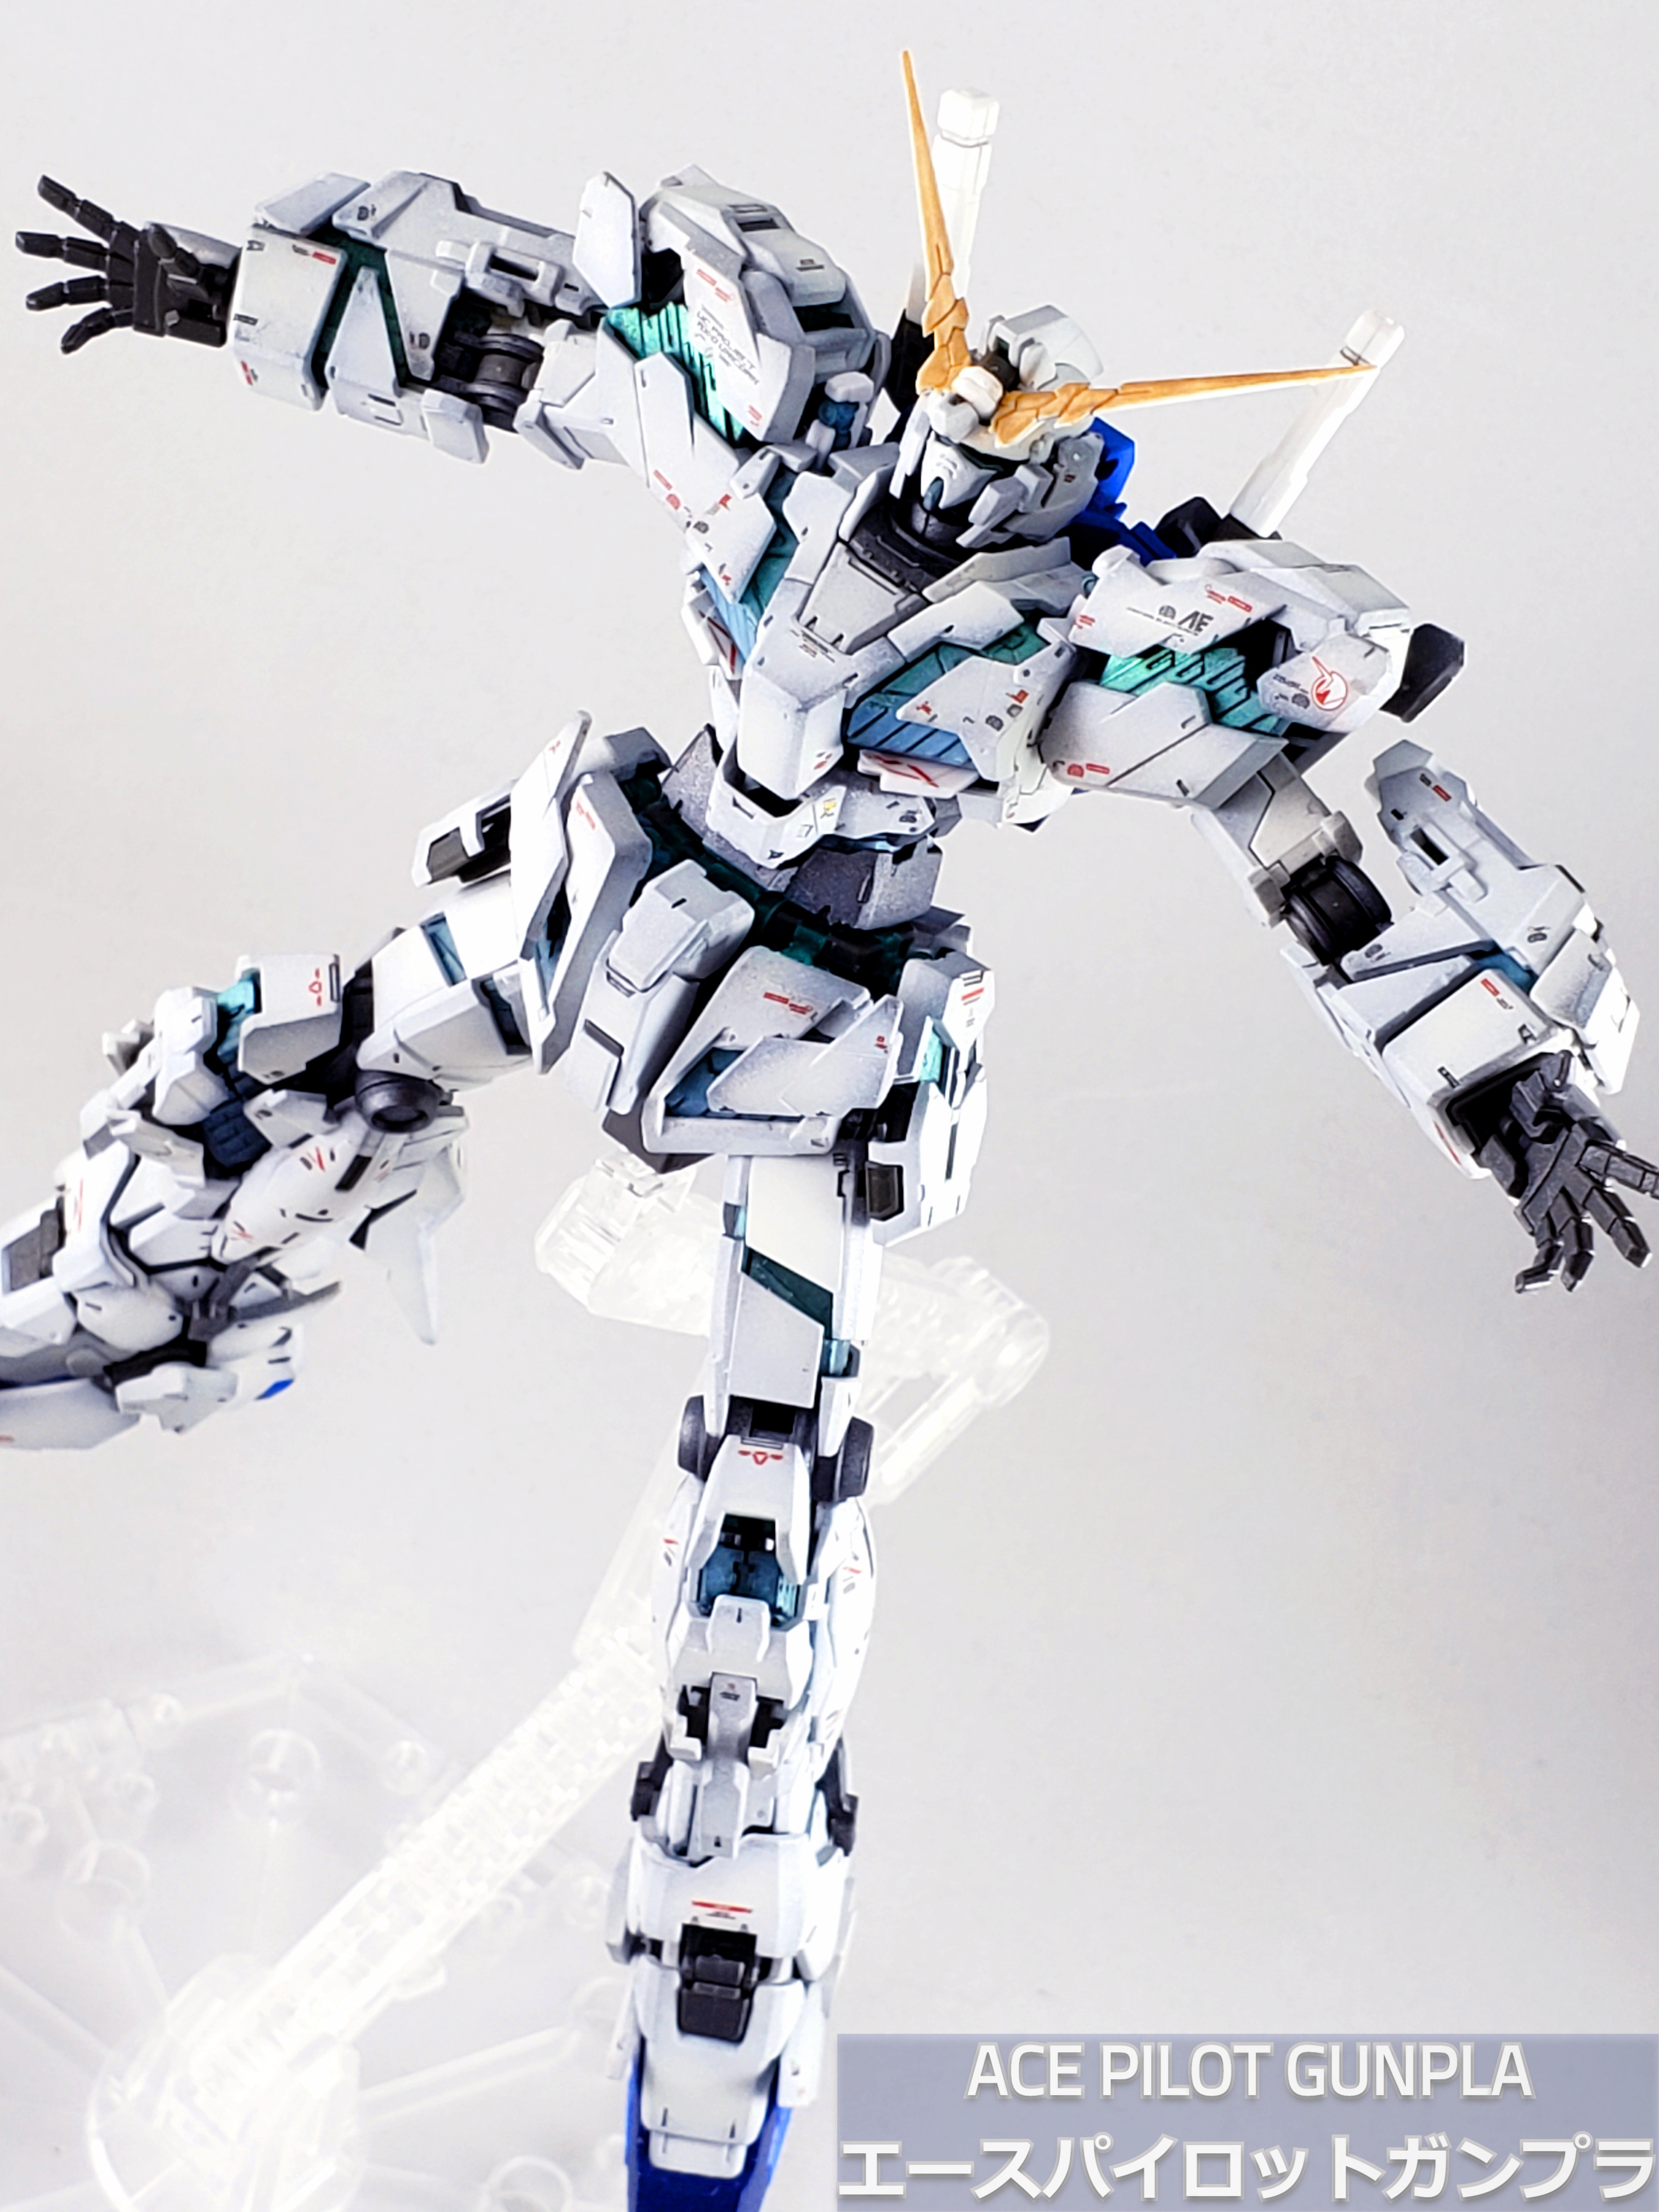
Building this kit gave me some good insight into the progress I’ve made building kits from a year ago til now. The preshading and color separation for the whites help the kit pop out more visually due to the kit being almost entirely white. I’m also happy with how the pearl colored psycho frame turned out, so I’m considering using it future builds like the MG 00 Quanta. I’m a decal kind-of-guy and this kit comes with a huge RG sticker sheet. Hell, this might be more than a Ver. Ka waterslide sheet!
I love using decals to perfect the look of my kits, but this was the time where I became burned out on the kit due to the sheer number of decals. I was using the official waterslides from the original RG unicorn, so this process to twice as long. If you’re looking to decal your kit, be sure to tackle it in a several sessions rather than knocking it all out in one go. It will save you a headache or two! Luckily if you decide to use the included stickers, the sticker borders wont be very visible on a mostly all-white kit if you choose to use them.
Build details and kit review to follow the gallery:


Unicorn mode 
/w boosters 
Destroy mode 
Back 
Boosters
Action shots


Build Details
PROS:
- Same great RG build from last year
- Great Transformation mechanic that doesn’t take away from kit stability
- Good amount of accessories and weaponry included
- Good nub mark placement for parts or some that are undergated
- Loads of decals to spruce up your kit (just be sure to take your time doing it)
CONS:
- Head weirdly comes off easily when moving around for posing
- Skirts come off too easily
- Full armor parts cause the whole kit to become too back heavy, thus needing the booster stands to prop the kit up
- full armor armaments cause the kit to become a nightmare to pose
- shields cant be held up with stands like the HG version
Paints Used:
- White: Grey primer followed by neutral grey preshade then flat white
- Greyish White: Grey primer followed by neutral grey preshade then 90% white with 10% neutral gray
- Blue :Tamiya TS 15, Blue; Tamiya TS 44, Brilliant Blue
- Green Psychoframe: Black basecoat followed by Mr Crystal Color Tourmaline Green
- Grey: Neutral Grey
- Red: Tamiya TS 39 Mica Red
- Pink: Base color silver followed by white+drops of red to get desired pink color
- Gold: Mr Color XUG06 Hyaku Shiki Gold
- Tamiya TS 100, Bright gun metal

Looks pretty damn awesome.
LikeLiked by 1 person
Thanks! ☺
LikeLiked by 1 person
This is absolutely astonishing mate! Fantastic work.
For the particle effects of the beam javelin and the psycho frame, did you prime that with anything, or did you go straight to base coat and then the final color?
LikeLiked by 1 person
Thanks for the kind words! I believe just went for a silver basecoat for the beam javelin and then florescent pink. As for the psycho frame, I base coated black and then used green Mr crystal color for the effect! Hope this helps!
LikeLike